Connecting an LED matrix to Arduino is a common way to create simple lighting displays, scrolling text, symbols, and small visual effects. The basic idea is to connect the LED matrix to a controller, provide the correct power supply, and use code to control how each LED turns on and off.
For signage makers, advertising display buyers, lighting contractors, and OEM lighting projects, this topic is also useful because it explains the logic behind controlled LED lighting. In real commercial applications, buyers often need something more durable and installation-ready than a basic Arduino project. Our led strip module for outdoor channel letter is made for signage and display lighting, offering stable brightness, easy installation, and practical use in outdoor advertising letters.
A basic LED matrix project usually needs an Arduino board, an LED matrix module, jumper wires, a suitable power supply, and a control library. Smaller LED matrices can sometimes be powered from the Arduino board, but larger displays usually need an external power source.
This is important because LEDs require stable voltage and current. If the power supply is too weak, the display may flicker, dim, or work unevenly. For commercial signage, this issue becomes even more serious because unstable lighting can affect brand visibility and customer experience.
Our LED strip module works with 12V input and is suitable for channel letters, light boxes, decorative signage, and outdoor display projects. It is not a hobby Arduino matrix, but the same basic principle applies: correct voltage, correct wiring, and stable control are essential for reliable lighting.
When connecting an LED matrix to Arduino, the usual wiring includes power, ground, and data or control pins. The power line provides energy to the LEDs, the ground line completes the circuit, and the data line sends lighting instructions from the controller.
For simple projects, Arduino controls the display directly through digital pins. For larger LED displays, drivers or controllers are often needed to manage brightness and signal stability. This protects the Arduino and helps the LEDs work more reliably.
For signage buyers, this is similar to choosing the right LED Module and power supply for a channel letter project. The module itself must match the power system, installation layout, and lighting effect required by the sign.
Power supply problems are one of the most common reasons LED projects fail. If too many LEDs are connected to one weak power source, the brightness may drop at the end of the strip or module chain. If the voltage does not match, the LEDs may be damaged.
For Arduino LED matrix projects, users should calculate total current before connecting the display. For signage projects, buyers should also calculate the total wattage of all LED modules and choose a suitable power supply with enough margin.
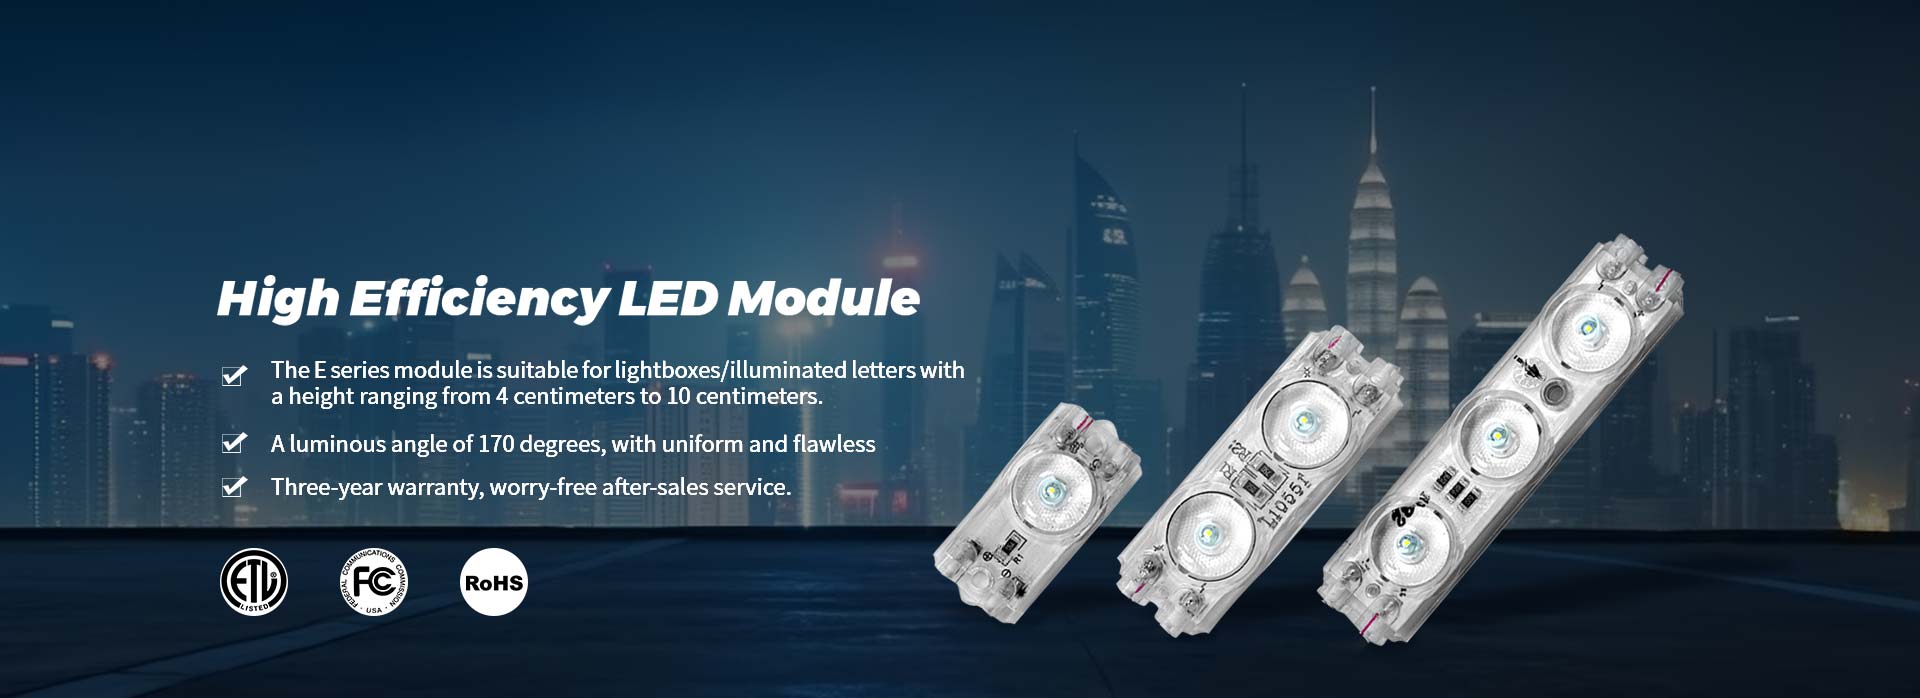
Our LED strip module for outdoor channel letter uses 12V voltage, 2W power, and 2835 lamp beads. It is suitable for buyers who need stable illumination for advertising signs, channel letters, light boxes, and outdoor visual displays. The module also supports practical installation with a flexible structure for different shapes.
An Arduino LED matrix is mainly used for small displays, learning, prototyping, and interactive lighting. Commercial LED modules are used for real signage projects where brightness, waterproof performance, lifespan, and installation speed matter more.
Our LED strip module has IP65 protection, 260lm luminance, 130lm per watt brightness, and a wide lighting angle of 165 degrees. These features help provide more even illumination inside channel letters and signage structures. For outdoor use, weather resistance is especially important because signs may face rain, dust, sunlight, and temperature changes.
For project buyers, the key point is not only whether the LEDs can light up. The real question is whether the lighting remains even, bright, and reliable after installation.
Before sourcing led modules for signage or display projects, buyers should confirm the application size, lighting depth, color temperature, brightness requirement, installation environment, and power supply plan.
For channel letter projects, the depth of the sign box affects the lighting result. Our LED strip module can be suitable for light boxes with side height around 6 cm to 15 cm. This helps buyers match the module to the sign structure more accurately.
Useful details to confirm include:
Channel letter size and depth
Indoor or outdoor installation
Required color temperature
Total module quantity
Power supply arrangement
Waterproof requirement
Packaging and delivery schedule
Logo or OEM customization needs
These details help reduce lighting unevenness, installation waste, and after-sales problems.
For OEM and ODM lighting buyers, LED modules may need different color temperatures, packaging styles, brightness levels, or project configurations. A supplier that understands signage applications can help buyers choose a suitable solution instead of simply offering a standard module.
For advertising companies, wholesalers, and lighting distributors, stable supply is also important. Repeat orders should keep the same brightness, color tone, and installation quality so buyers can maintain consistent project results.
Connecting an LED matrix to Arduino requires correct wiring, stable power, suitable control pins, and proper code. It is a useful way to understand how controlled LED lighting works. For real signage projects, however, buyers usually need more durable LED modules that are made for outdoor installation, stable brightness, and long-term use.
Our LED strip module for outdoor channel letter offers a practical lighting option for advertising signs, channel letters, light boxes, and commercial display projects.
Working on a signage lighting order? Send us your sign size, box depth, color temperature, quantity, and installation environment. We can help you choose a suitable LED module and provide clear guidance before production.
Previous: How To Program Led Dot Matrix Display?