Installing an LED matrix panel is not only about fixing lights inside a sign box. For sign makers, advertising contractors, display manufacturers, and signage distributors, the biggest risk is uneven brightness after installation. Once the panel is closed and delivered to the client, dark spots, hot spots, loose wiring, or unstable lighting can turn into rework, extra labor, and delivery delays.
That is why installation planning should start before the first LED Module is placed. A good layout considers panel size, letter depth, module spacing, power supply capacity, cable path, waterproof protection, and the final viewing distance. When these details are checked early, the installation becomes easier to repeat across channel letters, light boxes, store signs, exhibition displays, and commercial advertising projects.
Before installing an LED matrix panel, the installer should first check the depth of the light box or channel letter. A shallow box needs closer spacing and better diffusion control, while a deeper box gives light more room to spread. If the modules are placed too far apart in a shallow structure, the finished sign may show visible dark areas.
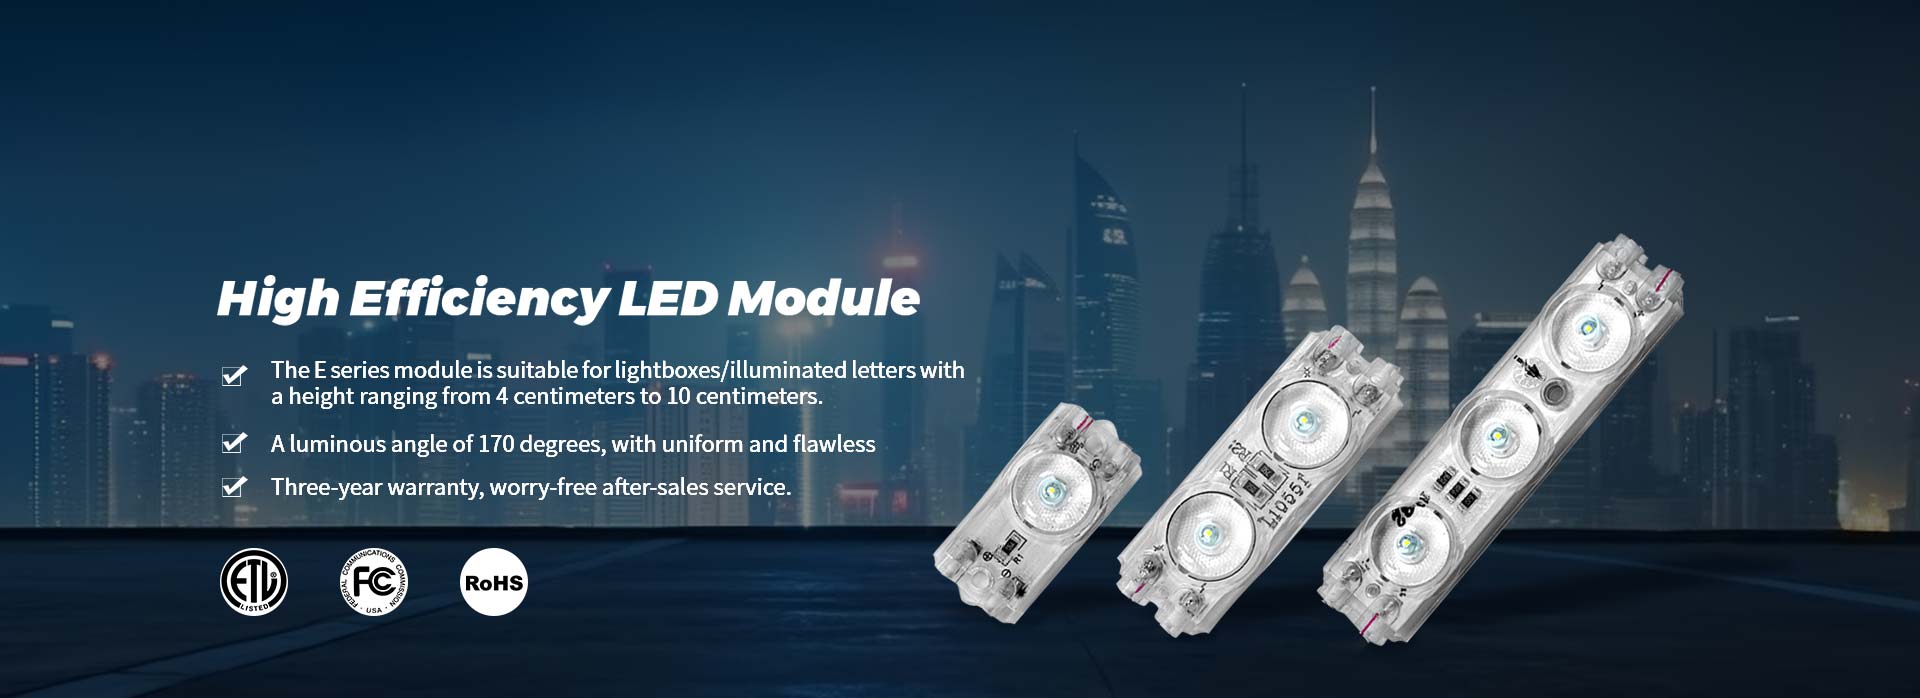
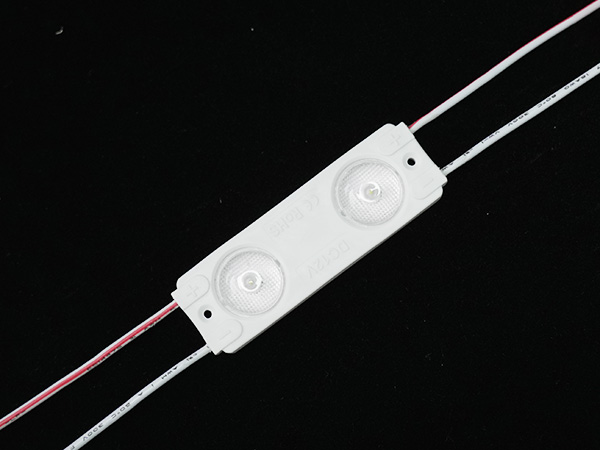
We are MENGHAO, and our White LED Channel Letter Modules are suitable for light boxes with a side height between 4–12cm. This makes them useful for many advertising signs and display lighting projects where installers need compact modules with bright white output.
For B2B projects, this step is important because one wrong spacing decision can repeat across many signs. A small mistake in one sample may become a large rework problem in bulk production.
Many installation problems happen because workers start placing modules too early. The better method is to draw the lighting path first. Mark the edges, corners, narrow sections, and wider areas of the panel. Then decide where modules should sit so the light distribution looks balanced.
In channel letters, corners and thin strokes often need extra attention. In light boxes, the center and edge zones may need different spacing. In display panels, installers should keep the modules aligned so wiring stays clean and future maintenance becomes easier.
A practical LED layout should avoid three problems:
Modules too close, causing bright spots
Modules too far apart, causing dark zones
Wiring crossing randomly, making service difficult
A clean grid helps the installer work faster and makes the finished panel look more consistent.
A common installation mistake is treating the power supply as an afterthought. LED modules need stable low-voltage power. If too many modules are connected to one output, brightness may drop at the end of the circuit. If the power supply is overloaded, the sign may flicker, fail early, or become unstable during long working hours.
The White LED Channel Letter Module uses 12V power and 1.5W per piece. For installers, this helps calculate the required power supply more clearly before wiring begins. The total wattage should be calculated according to the number of modules, then matched with a suitable LED power supply with enough safety margin.
For signage contractors, this is where project quality becomes visible. A sign that works well for one short test may still fail after hours of daily operation if the power setup is weak.
A good LED matrix installation should not look messy inside. Wiring should follow a clear direction, and connection points should be protected from movement, moisture, and pulling. This matters for outdoor signs, storefront light boxes, and commercial signage where maintenance teams may need to open the panel later.
IP65 protection can help the module handle outdoor or damp sign environments, but installation quality still matters. Cable joints, power entry points, and mounting surfaces should be handled carefully. If the module is waterproof but the wiring connection is exposed, the whole sign can still become unreliable.
For bulk signage production, simple wiring also improves workshop speed. Workers can repeat the same route, reduce mistakes, and make inspection easier before shipment.
The most valuable installation check happens before the panel is sealed. Turn on the light and inspect it from the expected viewing distance. Look for uneven brightness, shadows, loose modules, weak corners, flicker, or color inconsistency.
A short test at the workbench is not enough. The installer should check the panel under conditions close to actual use. If the sign will be viewed from several meters away, step back and inspect the full light surface. If the sign has narrow letters or deep corners, check those areas carefully.
This final check can save a lot of after-sales work. It is much easier to adjust module spacing before closing the panel than to reopen a completed sign after the customer sees uneven light.
Installing an LED matrix panel well depends on planning, not only assembly. Sign makers should check box depth, module spacing, power supply capacity, wiring route, waterproof protection, and lighting uniformity before final delivery.
For advertising signs, channel letters, light boxes, and commercial display panels, the goal is simple: bright, even, stable lighting with less rework. If your project needs white led modules for signage production, we can review the light box depth, panel size, module quantity, wiring plan, and power supply direction before installation starts. A clearer layout at the beginning can make the final sign brighter, cleaner, and easier to deliver in bulk.
Previous: How To Hide Led Strip Lights?