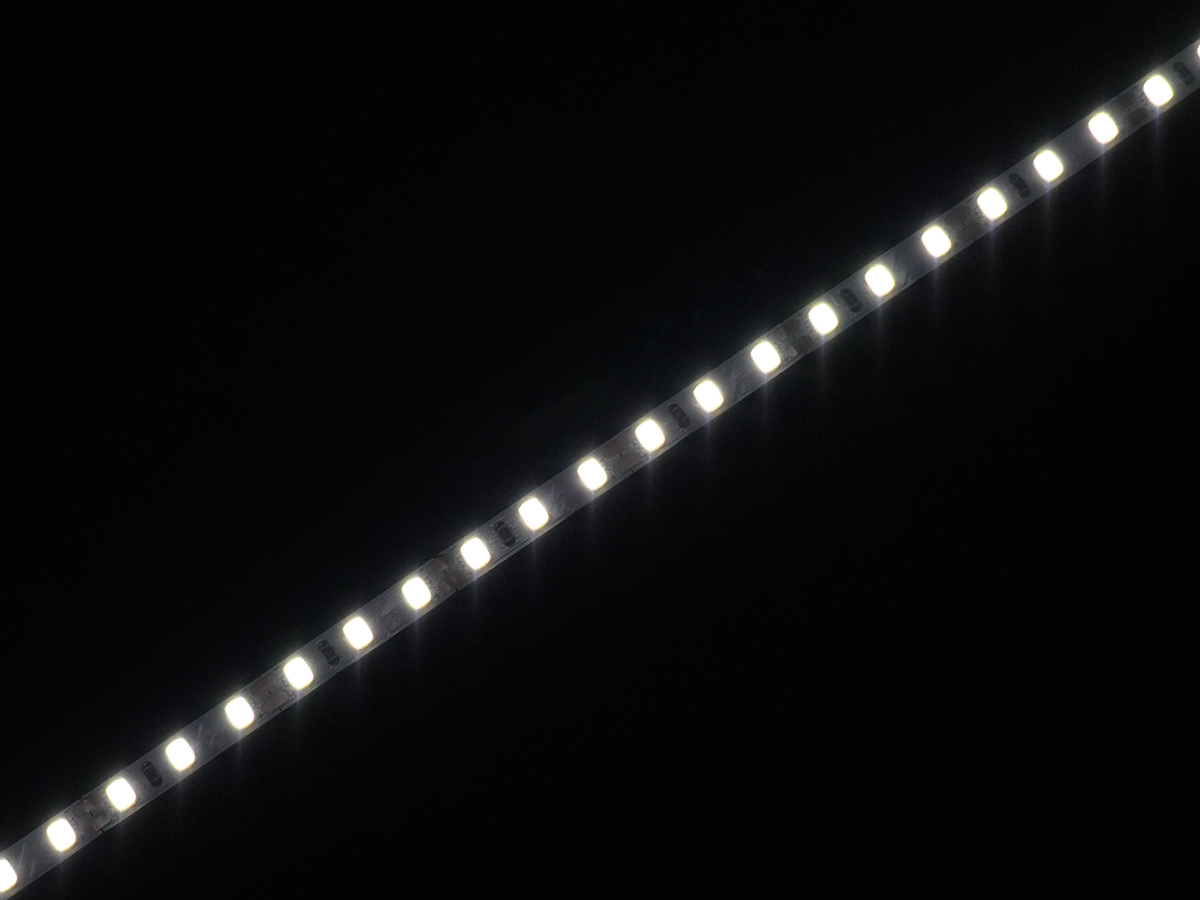
LED strip lights are one of the most versatile and energy-efficient lighting solutions available today. They can enhance ambiance, highlight architectural features, and bring vibrant color to both residential and commercial spaces.
At GMH, we design and produce high-efficiency LED strip lights that deliver superior brightness, long lifespan, and easy installation.
This guide explains how to install LED strip lights step by step, ensuring you achieve the best lighting effect safely and professionally.

LED strip lights are flexible circuit boards embedded with multiple light-emitting diodes (LEDs) that provide continuous illumination. They come in various lengths, colors, and brightness levels, making them ideal for a wide range of applications — from under-cabinet lighting to large-scale signage and architectural designs.
High Efficiency: Engineered with advanced optical lenses for brighter output and lower energy consumption.
Flexible and Cuttable: Easy to trim and bend for custom designs.
Durable Build: Made from high-quality materials with strong adhesive backing.
Multiple Color Options: Available in warm white, cool white, RGB, and dynamic color-changing models.
Long Lifespan: Over 50,000 hours of performance, tested for reliability.
Safe Operation: Low-voltage DC design to ensure user safety.
GMH LED strip lights are suitable for homes, offices, retail stores, hotels, and advertising signs, offering both functional illumination and aesthetic enhancement.
Before starting the installation, make sure you have the necessary components and tools:
| Item | Function |
|---|---|
| GMH LED Strip Light | The lighting source |
| power supply (Adapter or Transformer) | Converts AC power to low-voltage DC power (12V or 24V) |
| Controller / Dimmer | Adjusts brightness and color (for RGB or dimmable models) |
| Connectors or Soldering Kit | For joining strip sections |
| Scissors | For cutting the strip to the desired length |
| Measuring Tape | Ensures accurate placement |
| Cleaning Cloth | Cleans the mounting surface |
| Mounting Clips (optional) | Provides extra stability on uneven surfaces |
GMH Tip: Always verify the voltage of your LED strip matches the power supply to avoid overheating or damage.
Determine where you want to install your LED strips (e.g., under cabinets, along ceilings, or around mirrors).
Measure the total length needed, allowing extra for corners or connections.
Plan where the power source will be located — it should be close enough for wiring without stretching the strip.
GMH LED strips are marked with cutting lines, usually every 3 or 5 LEDs.
Use scissors to cut precisely along the marked line — cutting elsewhere can damage the circuit.
If your installation requires multiple segments, prepare connectors or solder joints to reconnect them.
Safety Note: Always cut and connect strips while the power is off.
Clean the mounting surface using a dry cloth to remove dust, oil, or moisture.
Ensure the surface is flat and smooth to guarantee strong adhesion.
Avoid installing strips in areas with high humidity unless they are waterproof-rated (IP65 or above).
Peel off the adhesive backing from the strip.
Carefully press the strip along your marked layout, applying even pressure for secure adhesion.
For rough or vertical surfaces, use mounting clips or aluminum channels for added stability.
GMH Professional Tip: For long installations (over 5 meters), connect additional power inputs at intervals to prevent voltage drop and ensure uniform brightness.
Identify the Power Input: Locate the positive (+) and negative (–) terminals on your LED strip.
Connect the Power Supply: Attach the strip to the power adapter, ensuring correct polarity.
For RGB Strips: Connect the strip to the RGB controller, then connect the controller to the power supply.
Plug In: Connect the power adapter to your main AC outlet.
Always double-check connections before turning on the power. Incorrect wiring can cause malfunction or short circuits.
Switch on the power to check if the LED strip lights work properly.
Ensure all sections light up evenly without flickering or dim spots.
For RGB models, use the controller to test color changes and brightness levels.
If certain sections do not light up:
Check for reversed polarity or loose connectors.
Inspect the cut and solder points for clean connections.
Conceal wires behind furniture, baseboards, or inside channels for a clean, professional look.
Secure loose cables with clips or cable ties.
Once confirmed everything functions properly, finalize your setup with any decorative covers or diffusers.
| Maintenance Practice | Purpose |
|---|---|
| Avoid Overheating | Do not enclose LED strips in completely sealed areas without ventilation. |
| Use Compatible Drivers | Always pair your GMH LED strip with the recommended power adapter voltage. |
| Clean Periodically | Dust can reduce brightness; gently wipe the strip with a dry cloth. |
| Avoid Water Exposure | Only use waterproof-rated strips in damp or outdoor environments. |
| Turn Off When Not in Use | Saves energy and extends product lifespan. |
GMH LED strips are built with premium LED chips and heat-resistant PC boards, ensuring stability even after long hours of operation.
GMH LED strip lights can be applied in many ways to elevate lighting design:
| Application | Description |
|---|---|
| Under Cabinet Lighting | Provides task lighting for kitchens or workspaces |
| Cove and Ceiling Lighting | Creates soft indirect illumination in living rooms or hotels |
| Backlighting for Signage | Perfect for advertising logos and displays |
| Outdoor Architectural Lighting | Highlights building outlines with waterproof models |
| Retail and Display Lighting | Enhances product visibility in shops and showcases |
| Home Decoration | Adds aesthetic lighting around TVs, mirrors, or staircases |
GMH LED strip lights are trusted by professional lighting designers worldwide for their brightness consistency and flexible application.
At GMH (Guangdong Menghao Photoelectric Technology Co., Ltd.), we combine innovation and precision to provide reliable lighting solutions for global customers.
High Efficiency: Advanced optical design ensures bright and even illumination.
Durable Materials: Heat-resistant PC and pure copper wiring for extended lifespan.
Flexible Customization: Available in multiple color temperatures and waterproof grades.
Global Reach: Exported to over 100 countries across Europe, America, Australia, the Middle East, and Southeast Asia.
Professional Support: 24-hour technical guidance and after-sales service.
Strict Quality Control: Each batch undergoes photometric and safety testing to meet international lighting standards.
Installing LED strip lights is simple, creative, and rewarding when done correctly. With proper planning, clean installation, and reliable materials, you can transform any environment into a visually stunning space.
GMH LED strip lights are engineered for brightness, efficiency, and durability — whether for home decor, commercial spaces, or signage illumination.
Previous: How To Fix LED Light Strip